View the Top Ten Home Security Systems here
Last week I took a look at a full security system from SimpliSafe, this week I’ve got something similar or a product that could be used for security in an outdoor setting. Swann Security is fairly well known for their products, I’ve got a mini-DVR with a single camera setup from them actually that works well. Today I have the OutbackCam which is basically a security camera for the outdoors. It can be used for monitoring an area, but these are more common for nature watchers and hunters actually. They’re used to monitor trails and areas for game, that way hunters know where to go.
The camera can be used for security as well, let’s say you’ve got a camp that you\’re away from, you can set the camera up to monitor it while you’re not there. The OutbackCam can be used for anything you can imagine really security or just for observing nature. This product could certainly be considered DIY as it’s something you do yourself and it’s used for security for protection or just for observation purposes.
OutbackCam – Camera & Video Recorder
Model: SW361-OBC
Retail Price: $149.99
An amazing covert surveillance camera with recording built for the elements
Durable casing with waterproof seal & battery powered portability can operate in most weather conditions & temperatures
A day or night camera & DVR allows you to keep a record of what happens
Record clear photos with the 2 Mega Pixel camera or videos at 30 frames per second, with powerful night vision up to 32ft / 10m and track the exact recording time with day, time & moon phase stamping
Record thousands of photos & hundreds of videos onto SD card
Capture activity onto the included 2GB SD card or upgrade to 32GB, then transfer files to PC for easy uploading to your favorite websites such as YouTube, Facebook etc
Set & forget with long lasting battery operation & motion activated recording
Unit accepts 4 x AA batteries (not included) & has motion triggered recording for extended monitoring over several months*
*based on taking 10 photos per day
Keep a lookout in remote areas with complete portability
Mount to trees, posts or flat surfaces in areas you wish to monitor such as fields, forests, yards, farms, fishing trips, leisure activities, covert or overt surveillance etc.
Specifications:
Video:
Image Sensor: 1/2″ CMOS
Effective Pixels: 1600 x 1200 (2.0 Megapixels)
Day/Night Mode: Color during day / B&W at night
Minimum Illumination: 0 Lux (IR on)
White Balance: Automatic
Infrared Cut Filter: Yes
Lens: 7.6mm
Viewing Angle: 55 degrees
Recording:
Video Format: AVI
Video Resolution: 640 x 480m
Video Frame Rate: 30 fps
Video Recording Duration: 15 seconds
Still Image Format: JPEG
Still Image Resolution: 1600 x 1200 (High) / 1280 x 1024 (Low)
Multiple Still Image Capture: Yes
Image Overlays: Date / Moon Phase
Record Delay Range: 5 seconds ~ 60 minutes 59 seconds
Night Vision:
Night Vision Distance: Up to 32ft / 10m
Number of Infra-Red LEDs: 215
General:
Operating Power: DC 6V
Battery Type: 4 x AA
Indoor/Outdoor: Outdoor
Memory Type and Size: SD Card up to 32GB
Display: Monochrome LCD
Sensor Type: PIR (Passive Infrared)
Sensor Range: Up to 32ft/10m
Sensor Trigger Speed: < 1 second
Operating Temperature: 14 degrees F – 104 degrees F / -10 degrees C – 40 degrees C
Dimensions: 4.7″ x 3.6″ x1.8″ / 120mm x 90mm x 45mm
Weight: 0.4lbs / 180g
View the Top Ten Home Security Systems here
Let’s start with a video unboxing.
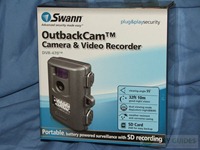
The OutbackCam comes in a nice little box of course.
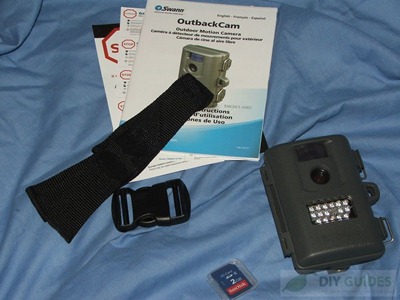
Inside you’ll find the camera, a 2gig Sandisk SD card, documentation and mounting strap.
If you look back up at the specs the unit itself is really small, and I was surprised, I though these things were much bigger. It has dimensions of 4.7″ x 3.6″ x1.8″ / 120mm x 90mm x 45mm.
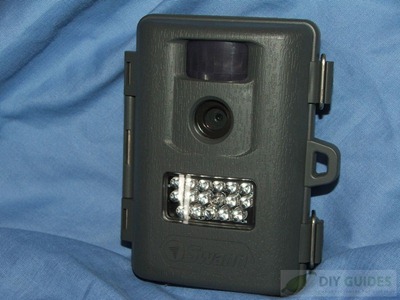
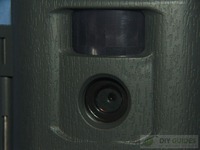
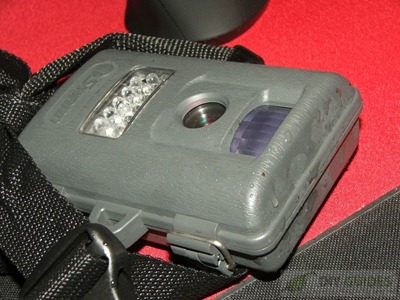
On the front at the top is the motion sensor, below that is the camera and then below is the infrared LED array. The color is a dark green and it has a wood texture to it. The color is supposed to help it blend in if you’re got it outside in the woods of course.
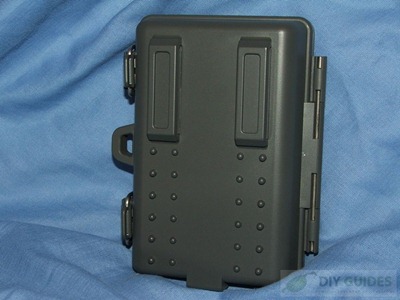
On the back you’ll find places for the strap to go through.
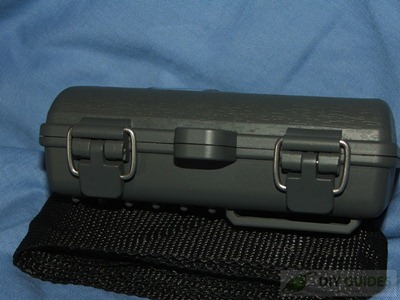
The unit is well made, there are small but heavy duty locking hinges on the side that also has a holes do you can put a lock in it for more security.
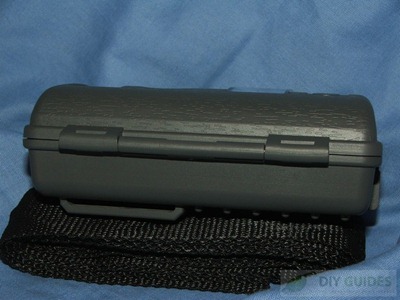
On the opposite side you’ll see the hinges which themselves appear to be strong.
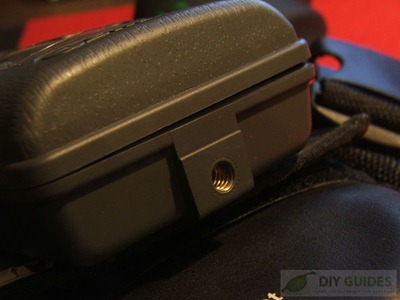
You can mount the camera with the strap, but there’s also a tripod hole in the bottom.
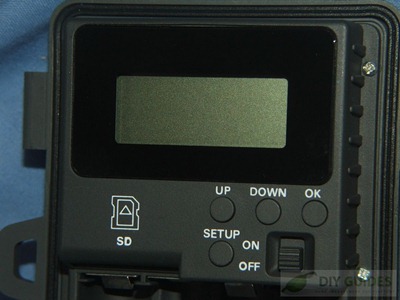
When you open it up you’ll find the battery compartment, LCD screen, SD card slot and the controls.
Below the screen are buttons for up, down, OK, and Setup and a sliding switch for on and off.
Right below is the memory card slot:
Using the camera is simple, you’ll need to set it up first using the controls. The screen is very basic, just black lettering but it gets the job done. You’ll most likely want to set the date and time which come up first on the settings.
Then you’ll pick the recording mode either video or stills.
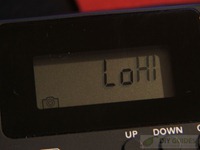
Then you can pick how pictures you want taken for each motion sensor activation either 1 or 3 at a time, and you can pick the resolution either Lo or Hi which is 1600 x 1200 (High) / 1280 x 1024 (Low) .
Then you have to pick how much time between pictures and you can set that from 1 second and up.
I live in a strip of housing up on a hill actually. There are about ten houses side by side with space between then. On each side of that strip is woods, and then behind is a wooded area as well. Behind my house I’ve got deer and turkey always running around which isn’t a bad thing, but with woods comes the pests as well. I’ve got annoying raccoons and even the occasional possum. The possums aren’t bad, not that big of a deal, they’re kind of funny actually the way they fall over and play dead when you startle them. The raccoons on the other hand are annoying little beasts who non-stop get into everything and tear apart my porch and garbage all of the time. I’ve come to realize that they are very smart creatures they can open garbage cans easily, just pop the top off and make a mess all over the place. I’ve tried using bungee cords to keep the lids on, that works for a while until they realized they can just chew through them. Anyway my primary use for this little camera is to see these little creatures in action, or at least try to and once I establish they’re patterns I might be able to do something about them, or not.
To access the pictures you can hook it up via the mini-USB port or just take the SD card out and pop it into a reader. It’s been raining for the last few days here, so the camera was outside in the elements and I can say there was no water inside of the casing, so the seal works. I did notice however that when I opened up the case they’re appeared to be condensation inside of it, just a very little bit though but over time I might worry about it if more appeared. My guess is that the rather chilly conditions and the warmth of the unit and batteries caused this. It wasn’t freezing cold but it did get down to 40F at night lately.
The main thing I needed to do before setting up the camera was to install the strap. There are instruction in the booklet with pictures, but the pictures are so small you can’t make out the details. The strap can only be installed two ways, I tried both ways and they both seemed to be rather loose. I ended up using the strap and then actually typing the excess on as well. That’s one good thing anyway, the strap is very long and should be able to go around rather large trees for mounting.
I set the camera up in my back yard between the houses. You’ll have to excuse the mess I’ve got going on back there, this is DIY Guides after all and I’m slowly remodeling my home so I’ve got a bit of junk collected out there that needs to go in the trash on next garbage day.
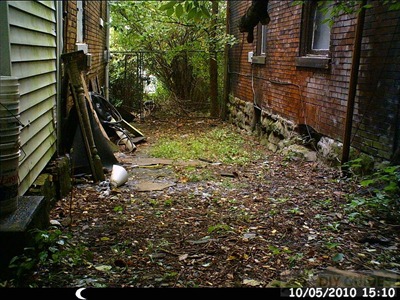
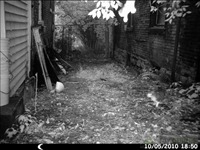
When you take pictures at the bottom you’ll see the date and time they were taken. Here’s one taken in the daylight:
I do have one cat, Molly, that lives outside for the most part, she’s fixed and has her shots etc, but she just wanders around the house and hangs out really. She set off the motion detector of course. You’ll notice the rest of the pictures here are black and white, when it switches to night mode that’s how it is, black and white pictures. Even though it’s the afternoon really, I don’t get much light behind my house as it’s all woods and tall trees so not much sun gets through at all.
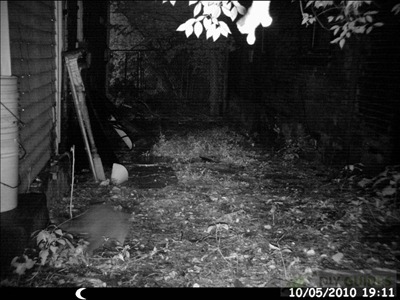
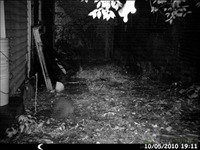
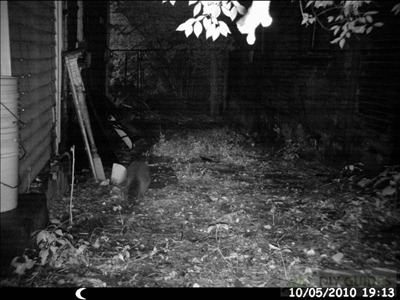
A little after 7 pm one of the Raccoons popped up. The little blurry blob in the bottom left corner is that Raccoon. At 7pm it is starting to get dark so the infrared is enable and it’s in night mode.
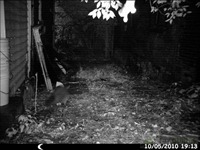
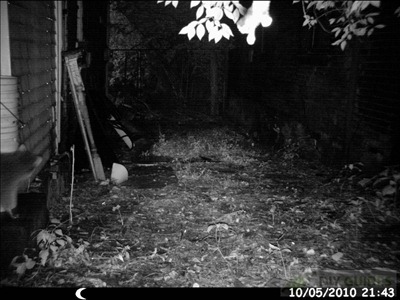
Then at about quarter till ten he popped up again, but it only took one picture.
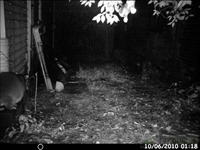
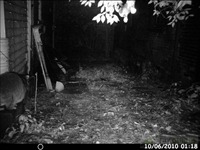
Then again at a little after 1am a really big one popped up. At this point it’s officially night time so it’s very dark and the we can really see how the infrared LEDs light up the area, and they seem to cover a lot of distance.
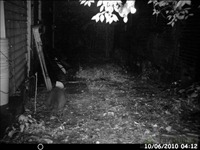
Then one shows up a little after 4am, they seen to be really busy wandering back and forth.
The camera does not appear to like movement at all as you can see, and for some reason it didn’t catch the Raccoons coming back. My guess is that they weren’t detected or they went another way around to get back.
The pictures above show the LEDs working well but then I got a few pictures like this, not sure why they’re so dark. The LEDs seem to be working as the leaves above are very bright and lit up.
You can take video, but they’re very grainy and not that great really. It wasn’t even worth showing you an example honestly, it’s just a blurry mess.
As you can see from the examples the picture quality for stills is decent but it doesn’t seem to like movement that much. My hopes are that with some tweaking the camera can take better pictures, like moving it to get a better angle on an area so it will see things better.
This type of camera, the way I’m using it, is more trial and error. You won’t know where the animals are coming from so you’ll need to set it up and let it work then come back and see what you’ve got and make adjustments from there.
Personally I like the OutbackCam, it works and with some adjustments I think it can be a great product especially for hunters or those that like to observe nature. I’m sure it could work as a security system too, but I’m not sure about the actual quality of the pictures being any good for any kind of physical proof for law enforcement purposes. The pictures taken in the daytime yes could be used as proof but I’m not so sure about those taken at night.
One thing that bothers me is that the motion sensor has no adjustments, the leaves on the trees at the far end of my house set off the detector so I had many pictures of just nothing really. It would be nice if there was a way to set the sensitivity and to be able to set the motion detection area as well, like you would have on a ‘regular’ security system.
Overall though I am impressed by the Outback Cam, it works and the unit itself is well made and seems very durable. I like it, but I like little gadgets like this that allow you to do your own thing. It’s easy to install yourself, just set it up and let it do it’s thing.
Pros:
+Many adjustments to be made
+Batteries should last a long time
+Includes 2gb memory card and can hold up to 32gb
+Infrared LEDs are very bright and have long range
+Date and time record on pictures
+Excellent daytime pictures overall
Cons:
-Motion sensor has no real sensitivity adjustment
-Fast Moving objects are very blurry
-LEDs didn’t seem to work ever time resulting in very dark pictures
-Movie quality isn’t that good at all
-Strap isn’t the best mounting system
-Instructions are lacking

